Showing posts with label Scrap Quilts. Show all posts

Thursday, August 20, 2015

Summer Quilts!

I do still quilt, I just don't blog, but since I heard from some friends today that they really do check my blog for pictures, I thought I would post some. If you would like to know when I put up new pictures, just sign up by email in the sidebar on the right and every time I post, you'll get an email notifying you! 
 First of all, I'll start with the Mr. and Mrs. Noah quilts. These were printed panels I bought several years ago and put them in the closet. When my grandson comes, he loves to see what he can find for Nana to make so we decided this spring it would be a Noah quilt........so, finally when I went to visit in the summer, I took them their quilts. They were just right to cover them up, play with, drag around, etc.
 I put flamingos on the back of Lacey's and her binding and 
Jake had chosen butterflies for his backing!! Little fun quilts!
 This was a kit I had purchased from Little Quilts. All I had to provide was the backing, and found a piece that was perfect for it in my stash. It'll be pretty in the den this fall.
 Cute little houses!
The border was what sold me on the quilt. This is called Hampton Farm!
 I decided to use up some scraps and strips I had been saving. My container says "Mixed Fabric Strips" which meant lots of different sizes but I only needed 1 1/2" for this so I sorted through two containers to get the correct size. The mixed would work well for other projects!!
 I found this pattern, Spring, at The Stitchin' Post website for free by Valori Wells. I sewed strips for a long time and decided only to use brights or clear colors, eliminating a few.
It was fun remembering what quilts I had used the fabrics for - and sometimes NOT remembering also.
 Here's a close up. . .
 and the quilt hanging on the long arm.
I still have tons of strips left to sew for another project!
Here are the fabrics for a project I will work on next. I've already cut the pieces and the pattern is on the front of Kaffe's book, Quilts in the Sun. So easy yet I think will be perfect for this fat quarter bundle I bought a couple of years ago at Intown Quilters - possibly my favorite quilt shop!

Wednesday, July 8, 2015

Raspberries!

I began playing with some leftover fabrics from a quilt I made in 2011, Easy Peasy. Here's what I came up with - such fun!!
 There were lots of 7.5" x 4" rectangles left from my previous cutting so I just kept making more that size, added some solid white and I had a quilt!
I used almost every single piece that was left with the back - less than a fat quarter of fabric was left for the scrap bin!

Friday, April 11, 2014

Scrappy String Bars

It all began with some leftover strings and a couple of grab bags from Homestead Hearth last year. I cut a lot of the fabrics into Tumbler shapes but always had some leftovers so my string stash began to  grow.
 I remembered my book Liberated String Quilts by Gwen Marston and found a quilt I wanted to make.
Gwen does not use a foundation for the string quilts so I just began sewing strips together.
 First in pairs of two, and I decided on an approximate length of 7+" so I could cut them down to 6 1/2" for my strips.
 The strings seemed to grow.
 Many were too short so I put them in this cute Moda tin to be another quilt later.
Here are larger sets. I just chose fabrics that I liked together - pretty random, though!
 I put them on the design wall to get the lengths similar as I continued to add sections together.
Next I auditioned some borders and chose red in the end with a narrow green border.
 I went ahead and sewed both borders together, knowing it would give an 'old-fashioned look' to the quilt because they both extend to the sides together.
 A close-up of the fabrics and quilting.
Here is the finished quilt! It will be a wallhanging and is quilted with random clams, similar to the Baptist Fan.
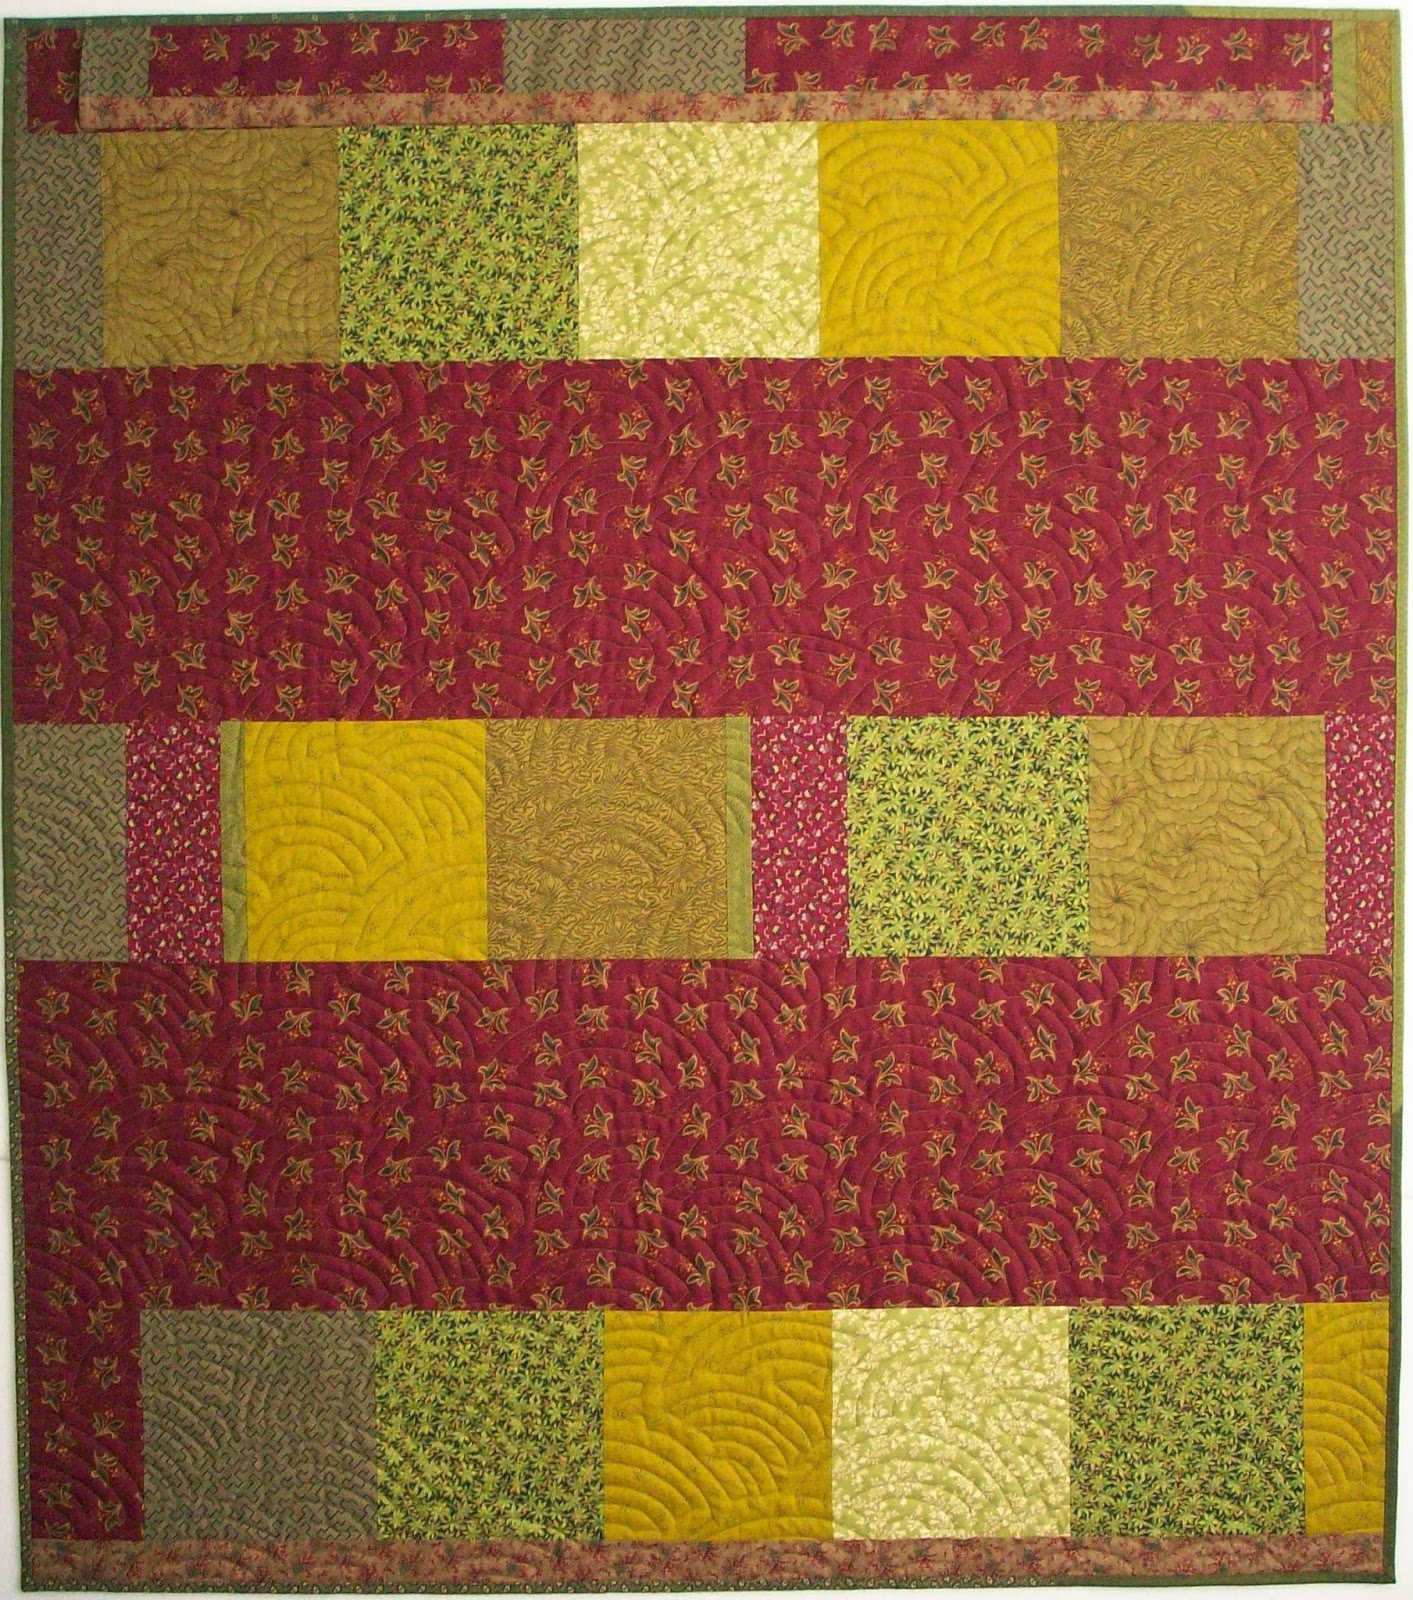
 I pieced the backing, as I frequently do, and even pieced the sleeve at the top.
Another close-up. I still have plenty of strings to make another quilt but I guess this made my stash shrink a little bit! Happy Stitching!

Wednesday, February 19, 2014

Kaleidoscope II and Farmer's Wife Blocks

 Here is the quilt I began working on last week during our snow, using up scraps from a previous quilt. Well, sometimes when you try to use all the scraps, you should just stop and let them go. I thought by adding the half blocks on the ends that it might turn out 'artsy' but instead it just makes you wonder "what happened"? Oh well, that is how I learn with quilts. It seemed okay when I took the photograph but when completed, just makes you wonder - lol!! 
One of the things I've enjoyed doing through the years when making quilts from leftovers is trying new things or making do with what I have. Some have turned out great and others, well, not so great. I enjoyed working on it and I think it will be a nice baby quilt for some child when I decide to give it away.
 Here is a close up view and I guess my favorite 'scrap' was the striped binding I had left from the nautical quilt I made in January. It was absolutely perfect for this quilt, too, and just the right amount.
 As for the back, I had fun piecing some backing leftovers from my "Not So Easy Street" from Bonnie Hunter's 2012 Mystery quilt.
One of my UFOs I would like to finish this year is my Farmer's Wife Quilt. Yesterday I actually made these three blocks and pulled fabric for about a dozen more. I think I enjoy choosing the fabrics as much as I do making them - just trying to find the 'perfect' choice from what I have to look similar to those in the book, and then getting them to all turn out the same size - 6.5" unfinished. 
When I began quilting in the early eighties, a 12" block was pretty much standard, and so much simpler to be accurate with larger pieces. Now 6" is a popular size and I have to work pretty hard to get them all the same. Guess I'm spoiled to so many blocks that you make and 'cut down to size'. I'm about 1/4 finished with this quilt now if I make all 111 blocks.
To see some other Farmer's Wife Blocks with a totally different spin on them, visit Pinkadot Quilts. Her fabrics are wonderful and so happy!
 Happy Stitching!

Monday, April 23, 2012

Granny's String Quilt Completed

I am so excited to have finished Granny's String Quilt this week. I am very pleased with the way it turned out and I know she would be also!
 In this close up you can see the quilting pattern - Daisy Bounce - using a variegated pastel thread and I used four different fabrics for the binding.
 I really liked the way Granny used even her leftover Christmas fabrics and threw a lot of reds in. With the thirties fabrics, they just blended in and gave a little accent to the quilt.
 Here is the back. I had several blocks that were not large enough for the front so I just made a little backart, wanting to use all her fabrics. The yellow border was also in the box with her other fabrics strings.
Here is a close up of the back showing the quilting a little better. So much fun to finish a project!! Granny would be proud of it!

Friday, April 6, 2012

Floating Borders Tutorial

 This is a little tutorial on how to make "floating borders" on a quilt. Each border is the same length and the corners are not mitered. Above shows how the final border will look on each corner. You do this by starting with a partial seam on your first border, see below.
Temporarily lay the last border on the fabric or measure it's width to know how far to extend the first border past the white inner border.
 The border is pinned in place but several inches are left unsewn at the beginning, thus your partial seam. This applies only to the first border. After it is sewn, you have a finished end.
Above see the other end of the first border, sewn all the way to the end of the white inner border.
Add your second border and sew from beginning to end, as above.
I did not measure these exactly to size since they were pieced, it was hard to get an accurate measure. I left a little on the ends and then squared it up each time a border was sewn.
This picture is of the fourth border and first, ready to be joined. You can see where I had the partial first border seam still open.
Now it is pinned in place to complete the seam of the first border.
And here it is - totally sewn.
Here is the completed top with a not so good picture of the borders. Zoom in and you can see better. I was just too anxious to get these pics up I guess.
And two empty containers, meaning I had used up all my strips and fabric from two shoe boxes. 
And here is the pieced backing. I had several leftover blocks that were too small to fit on the front, therefore they became backart. I was trying to use all of Granny's strings and the yellow fabric, which was also in the container. I did add a few of my own to even it all out.
Now all that is left is quilting!!