Showing posts with label Easy Street Mystery Quilt. Show all posts

Tuesday, September 17, 2013

Miles of Binding!

 I have had 'miles' (it seems) of binding to do this past week but it is all finished. Here is Evelyn's Album, completed, even with my initials on the front corner, just like the pattern, actually.
 I saw the quilt of Lisa Bongean's at a quilt show and this is how it was quilted around the hearts so I used that idea - I'm a big fan of feathers anyway.
 Just a close-up of one of the other 12 blocks.
 I quilted Not So Easy Street weeks ago and put the binding on by machine but did not get the hand stitching done until this weekend. It is a large queen size quilt.
 I put several different black and white fabrics on the back when I found them all on sale for $5.00 per yard. Since I needed 9, I could not resist that price and piecing them made it a little more interesting to me anyway.
I found another purple batik for the binding that went great with the inner border. I don't know if I'll be doing any more mystery quilts for a while - at least not this large - LOL!!!
Happy Stitching!!
A few weeks ago I decided to give myself a challenge of quilting or making a "quilt a week". Now I know this may seem pretty crazy but I have many UFOs and leftover scraps from other quilts all in little bags, waiting to be made up. So, I began this in July - gave up on the idea since I had a busy August - but resumed again last week. Here is my other blog to motivate me with my challenge. You can also find a link on my sidebar.

Friday, February 15, 2013

Easy Street on a Mission

 All of a sudden I decided I needed to work on Easy Street and get those blocks going. So, I have 9 of the B blocks. . . .
 and two of the A blocks - still needing 14 more. Fortunately they are going together rather well.
I laid out the blocks and sewed the first two blocks of each row, keeping the threads intact as I chain pieced. Skipped the third block on each row and sewed the fourth and fifth together. . . .then kept the threads holding those rows together, too. Next added the third block of each row to the first two blocks then the fourth and fifth that were already sewn together. 
I did not press until the rows were completed. It kept them together really well and went much faster. These are my five rows, still intact with threads, but not pressed. Maybe I need more pictures if this is not clear - BG!

Thursday, January 17, 2013

Quilting Modern


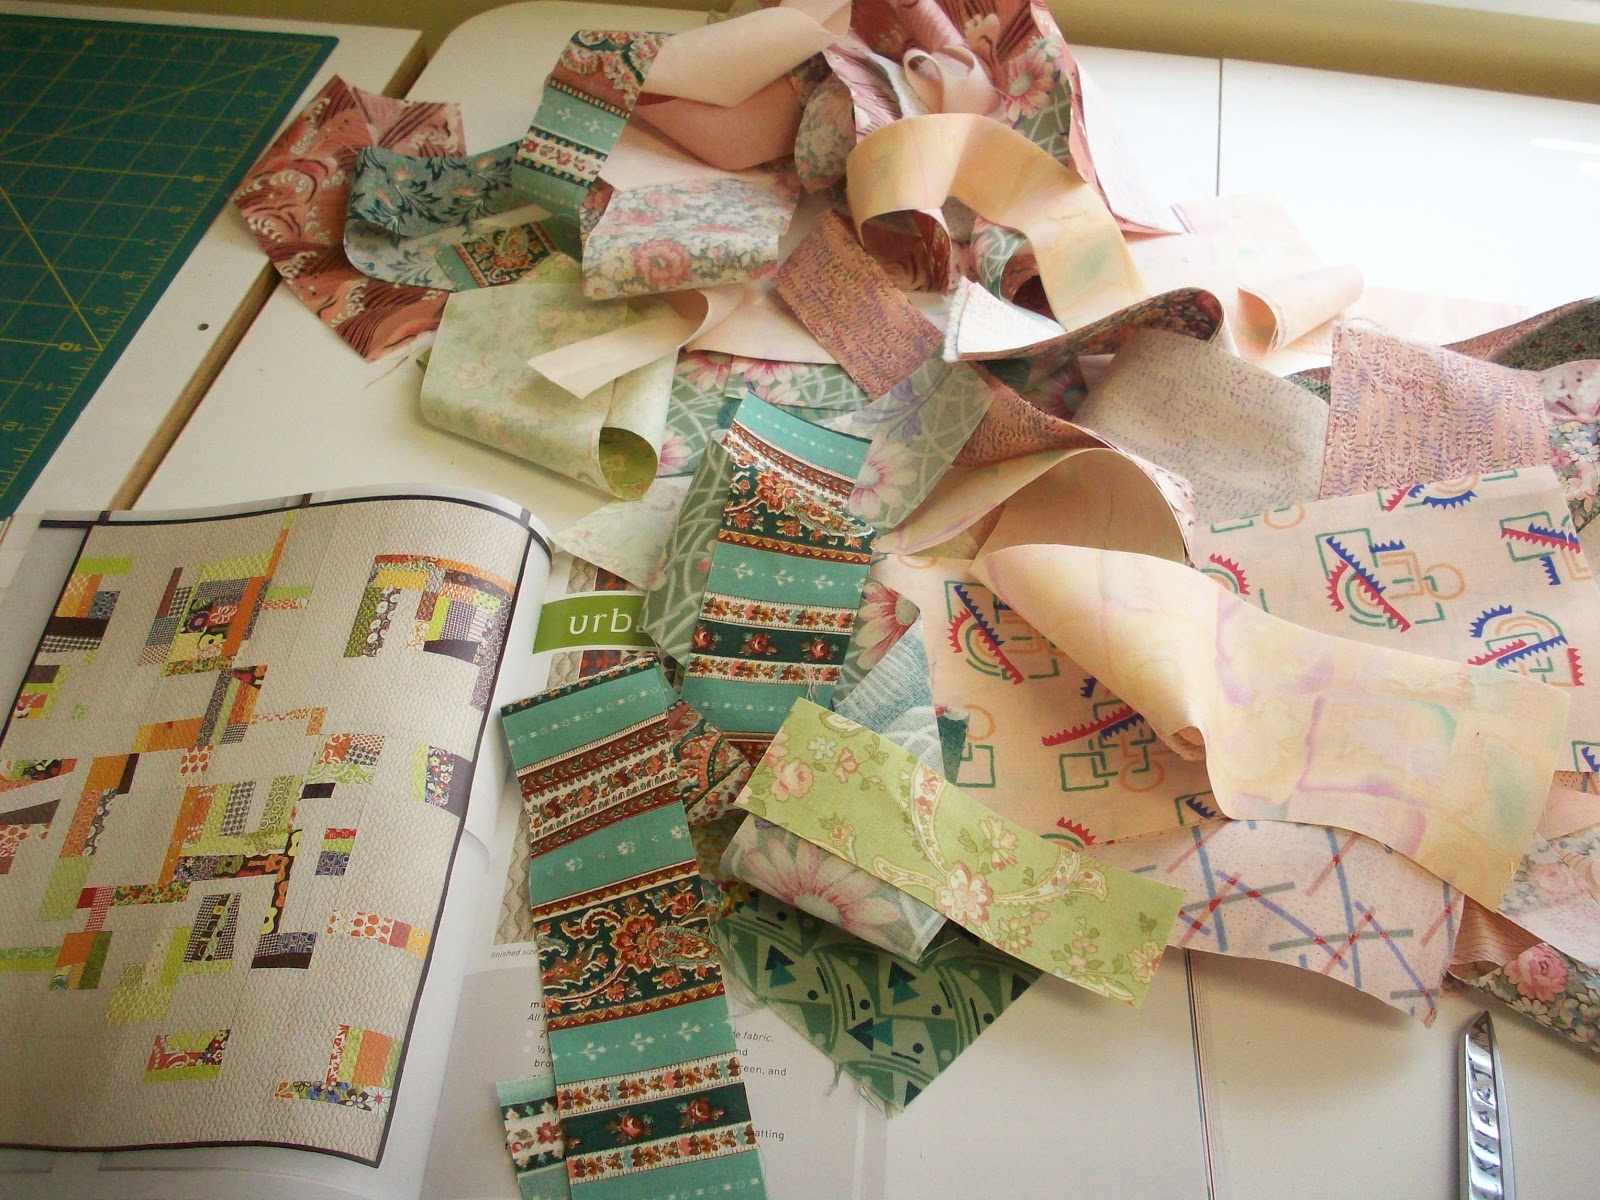
 I purchased this book last year and really like so many of the quilts plus there are some really nice and unusual quilting designs. I decided to use some scraps from my stash and see where I could go with one of the designs.
 I had lots of peaches and greens so pulled many out, pressed them and cut them into strips of various sizes.
 The quilt I chose to make is Urban Garden Quilt and you can see their version on the left in the above photo along with many fabrics. The authors don't give exact measurements for every strip but many guidelines for the blocks. In no time you are just sewing strips and working improvisationally, seeing what you would like to add next, often letting your fabrics just work for you.
 Here are a few blocks on the wall. You can see I need to either subtract from some or add to some so I can sew the blocks in long rows. Roberta Horton used to call these coping strips. I've always loved that term.
The top is finished now.
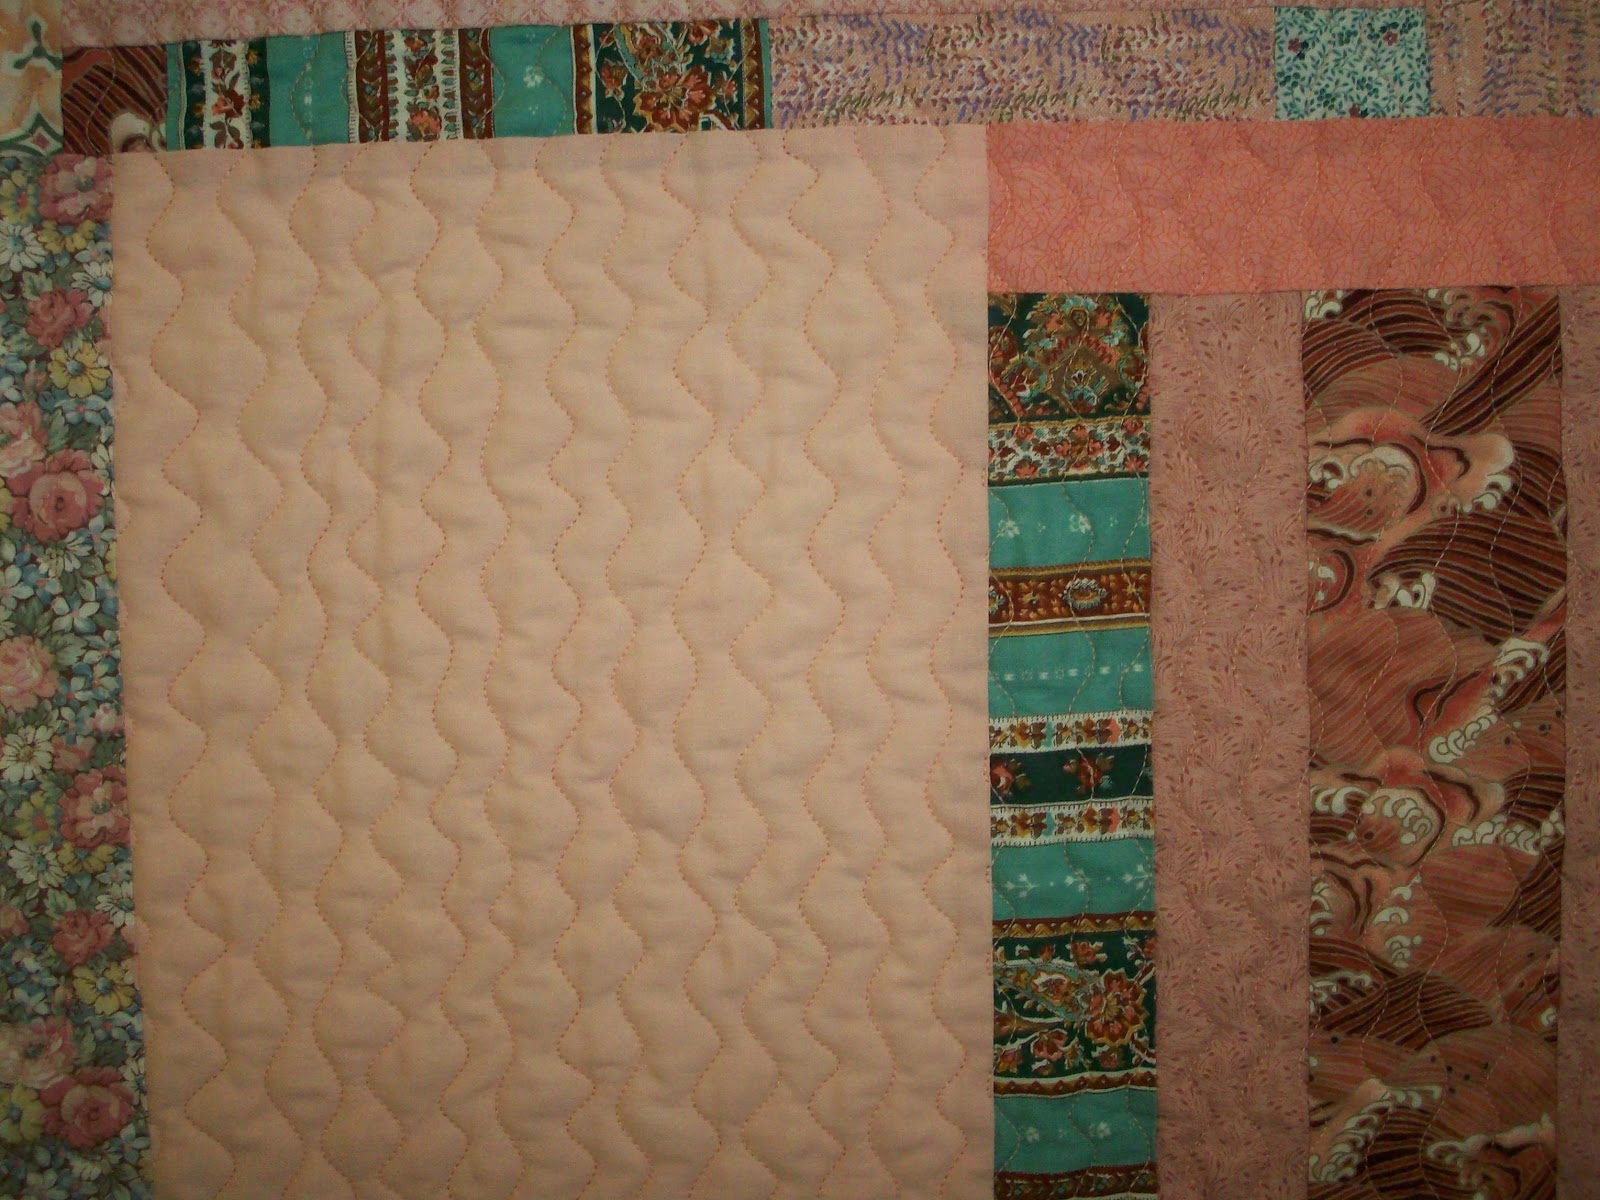
And quilted with a close wavy freehand line. I was told by some at the quilt retreat that it looked as though it were knitted from a distance.
Here is a little close up! This quilt was such fun I must say!!
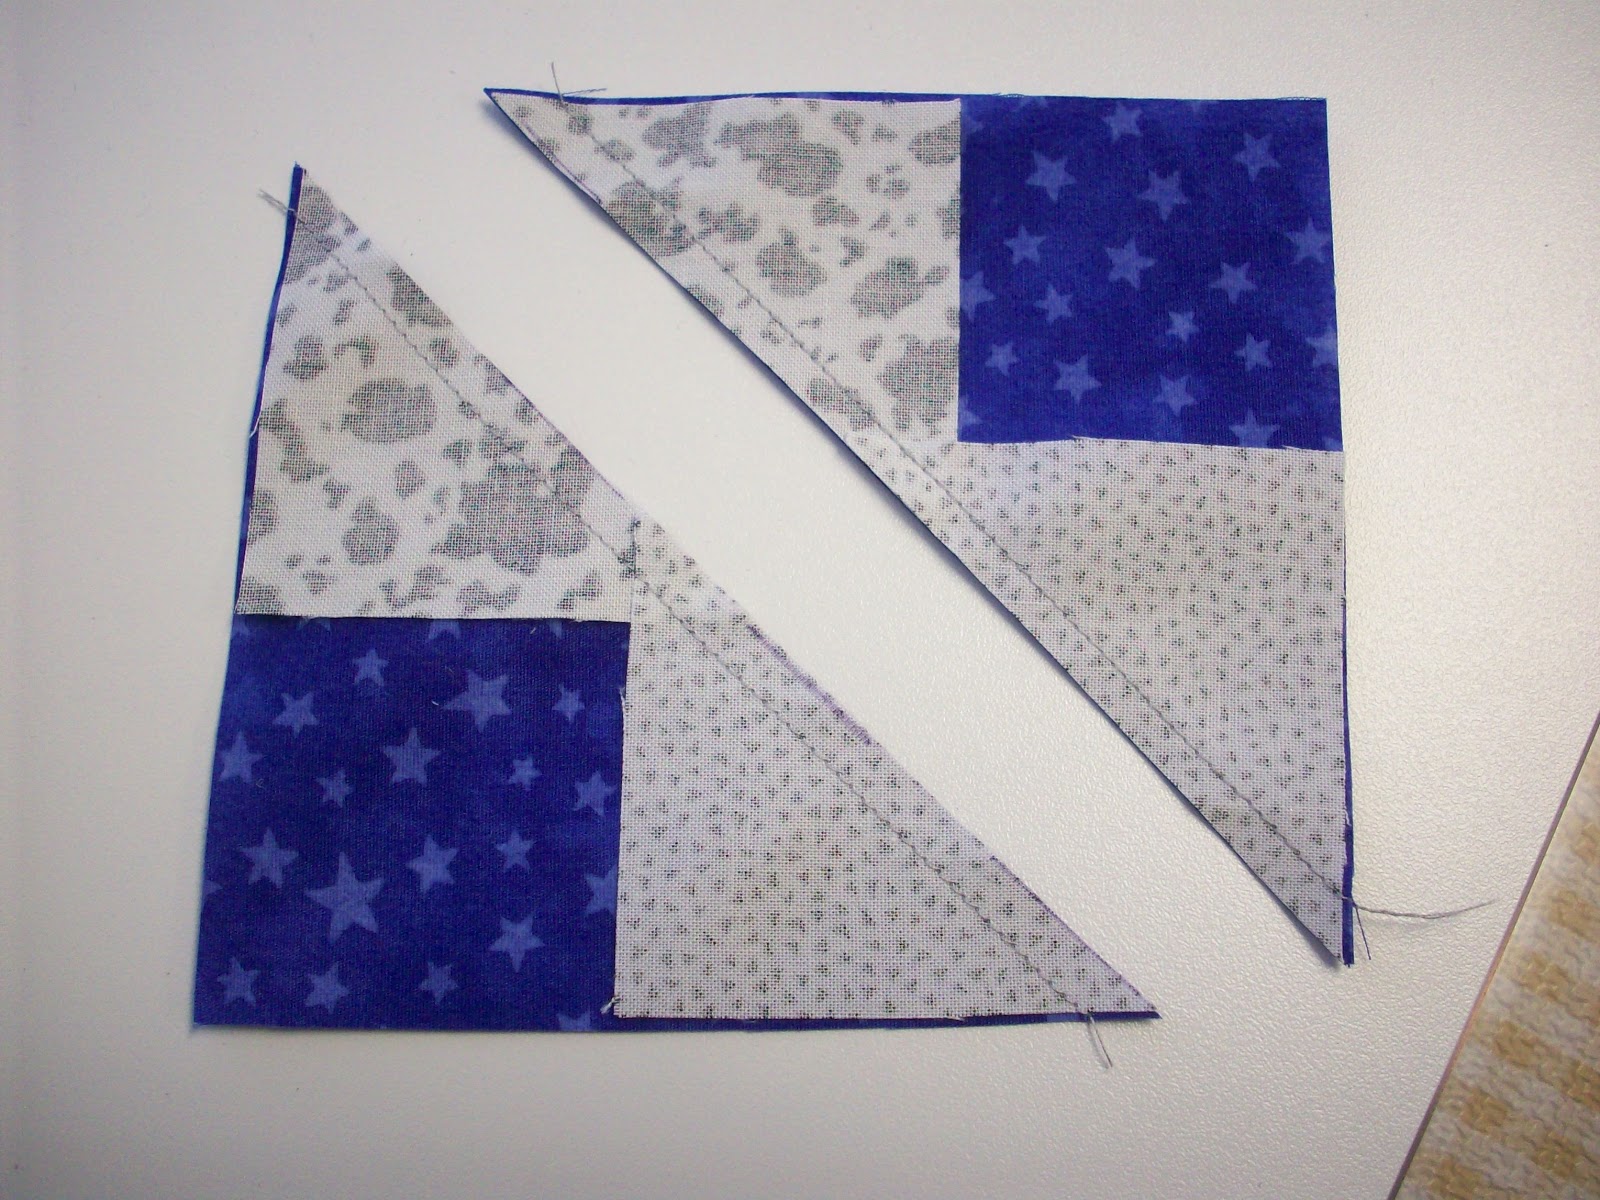
And here are a few of the triangles I sewed at the quilt retreat for Easy Street. Not sure I'm thinking it is so Easy but do-able! So, 16 triangles sewn and many more blocks to go!
Happy Stitching!

Tuesday, January 8, 2013

Easy Street and Sneak Peak!

Here are all my Easy Street pieces ready to sew together!! I can't believe how many people have their tops finished already and all the color combinations look great. I'm hoping to get all my blocks sewn at a quilt retreat this week - a nice project to work on there plus some handwork!

And here is a sneak peak of one of my UFOs that I got quilted this weekend and the binding is waiting for the handwork. I'll have more pics of how this came about soon. It was such a fun quilt to make last year!

Wednesday, January 2, 2013

Easy Street Parts 5 & 6

 I took a few hours to get some sewing done today. Here is Part 5 of the Easy Street Mystery Quilt by Bonnie Hunter of Quiltville. I am definitely going to have to add some more turquoises to my stash when I get this quilt completed. I am about out!
 Part 6 - green quarter square triangles and
approximately 130 double bricks of the black on white prints. I am really liking how this quilt is turning out and it has made me slow down a little with my piecing to be more precise. Not many more steps to go!!

Friday, December 21, 2012

Easy Street Mystery Quilt Part 5

This may be all I get done this week so I decided to go ahead and get my cutting done early this morning. Have I mentioned that turquoise has been an all-time favorite color of mine since I was a child? There is some sewing but it's simple. Check it out at Easy Street!
It has turned very cold here in the south but I think it's very fitting. After all, today is Winter Solstice and winter is finally here. Happy Stitching if you get a chance!

Monday, December 17, 2012

Easy Street Mystery Quilt Part 4


Somehow I managed to find the time to sew this weekend and get all of my flying geese made and sewn to the black and white flying geese. I used the Companion and Easy Angle but still had to do just a tiny trimming up. Maybe it didn't seem so difficult as there was only half as many geese this time - 64 instead of 128.
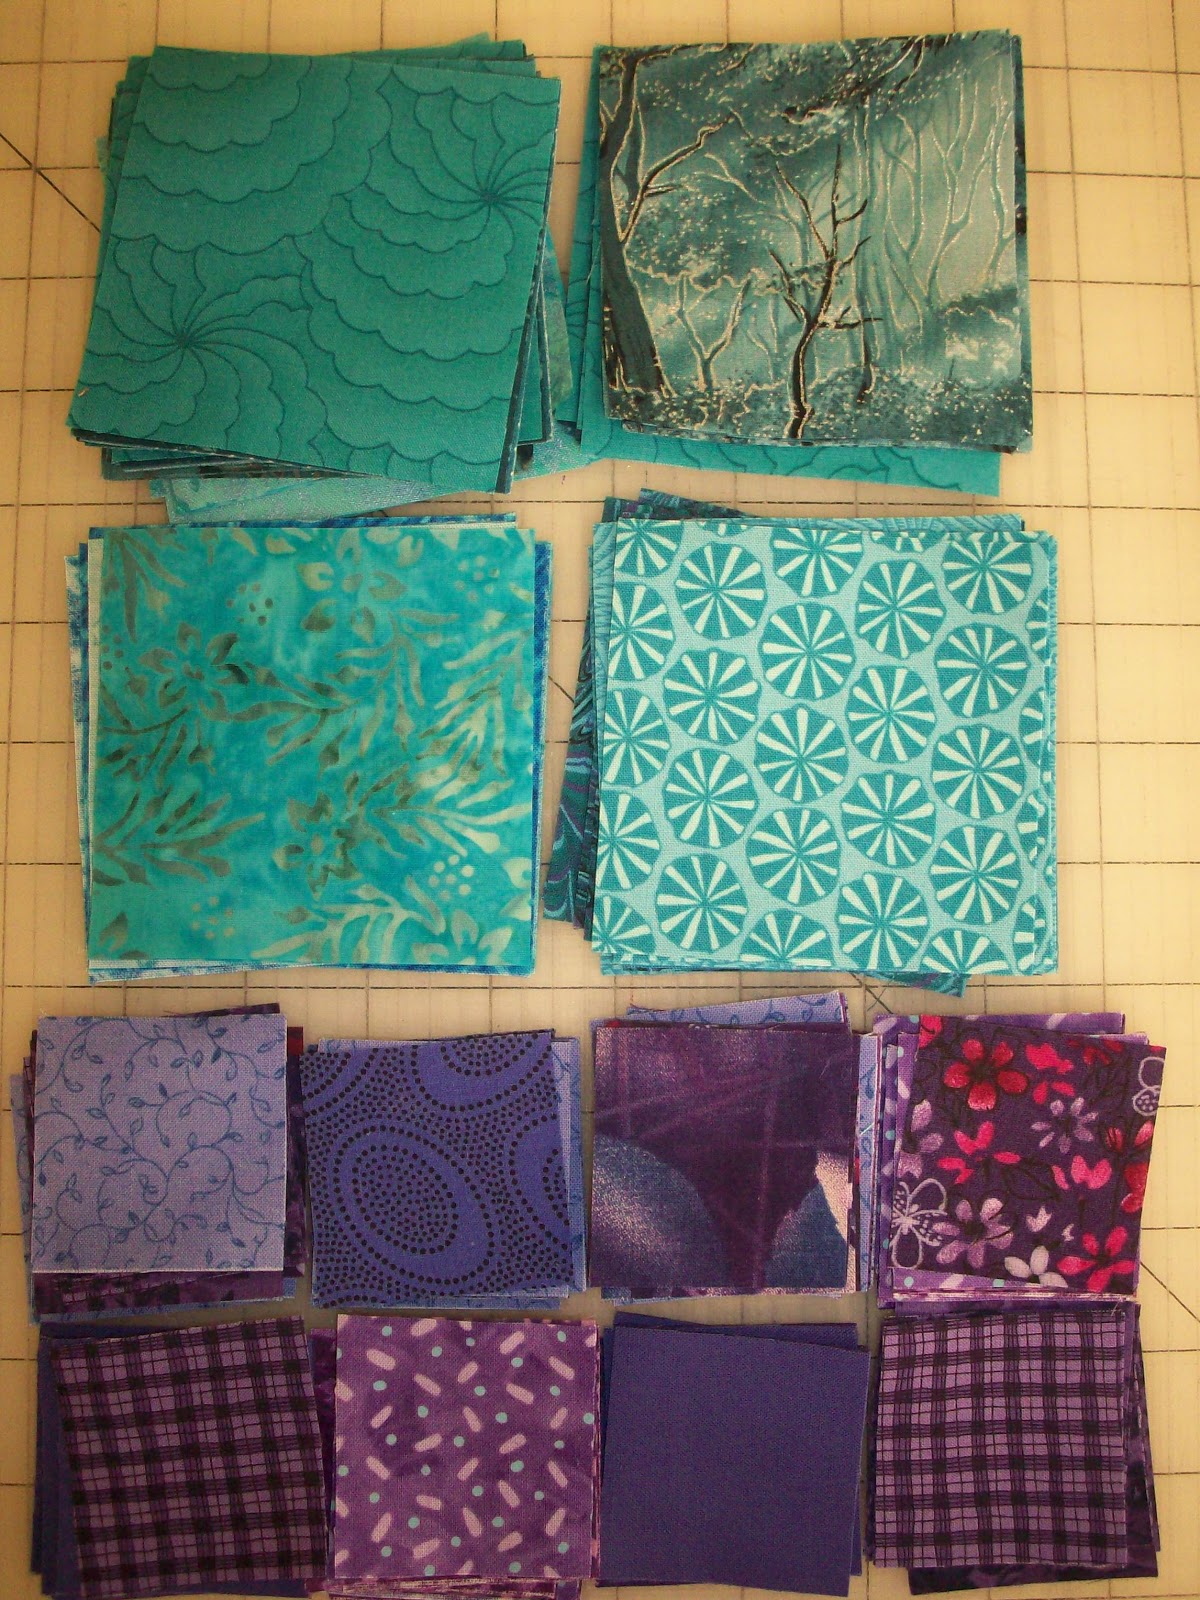
I even got all of my green squares cut! I'm pretty fond of all those bright greens!
 Here are my greens and turquoises and purples together!
And now, add the gray and they are all nicely stored together, waiting for the next clue from Bonnie's Easy Street!

Thursday, December 13, 2012

Easy Street Mystery Quilt Part 3

I managed to get my 64 shaded nine patches finished! I got pretty behind this week but a little sewing this afternoon got them all finished. I sewed them just as Bonnie instructed and they have turned out rather accurately. 
My flying geese from last week were accurate but it was a whole lot of trimming by using the Wing Clipper Tool so I don't know if I'd do them that way again.
Let's see what Bonnie has for us tomorrow!

Monday, December 10, 2012

Easy Street & Christmas!

 Here are my flying geese from Part 2 of Easy Street. I've not begun the next step. I was too busy singing in a Living Christmas Tree this weekend which was wonderful. 
 Speaking of Christmas, here is the completed Christmas tablecloth I worked on a few weeks ago.
And here's a photo of my first Christmas quilt, made in the 1980s. All different stars and hand quilted with stars and a cable border. Some of these leftover fabrics were used in the tablecloth above. Seriously! You can see the poinsettia sashing squares fabric in the tablecloth picture. I think the fabric had aged long enough!!
And when I've had a chance, I've done a little stitching on the 'finishing kit' from the SBOW, aka Evelyn's Album from Primitive Gatherings. One more block to stitch and then I need to put a design in all the stars. So far I just have one of those done. The heart has simply a blanket stitch with a few hundred french knots. Next is the border. Happy Stitching!

Monday, December 3, 2012

Easy Street Mystery Quilt Part 2

 Here are my purples all laid out for my flying geese. These are for Bonnie Hunter's Easy Street Mystery Quilt Part 2.
Here are the flying geese I finished yesterday and below is the following method I used to make them.
I used this ruler/tool called a Wing Clipper. I had learned to use it in a class earlier this year and it makes very accurate flying geese. It has instructions for ten different sizes of flying geese.
 For finished flying geese of 1 1/2" x 3", you begin with a 4 1/2"purple square and two 2 1/2" black and white squares. This (plus two more black and white squares) will make four flying geese.
 Lay your black and white squares on opposite sides of the purple square, just in from the corner edge. The instructions with the ruler suggest drawing a line on opposite sides of this center line drawn. I just sewed a 1/4" away using my 1/4" foot as a guide.
 Here are my sewn lines on either side.
 Cut apart down the center with a rotary cutter.
 Press flat then press towards the black and white squares.
 Now you add another black and white square to the purple corner, again, bringing it in 1/16" of an inch. It is important to do this. If you don't bring it in enough then your flying geese won't trim up properly.
 Mark the lines and sew again, just as before.
 Cut apart and press to the black and white triangles.
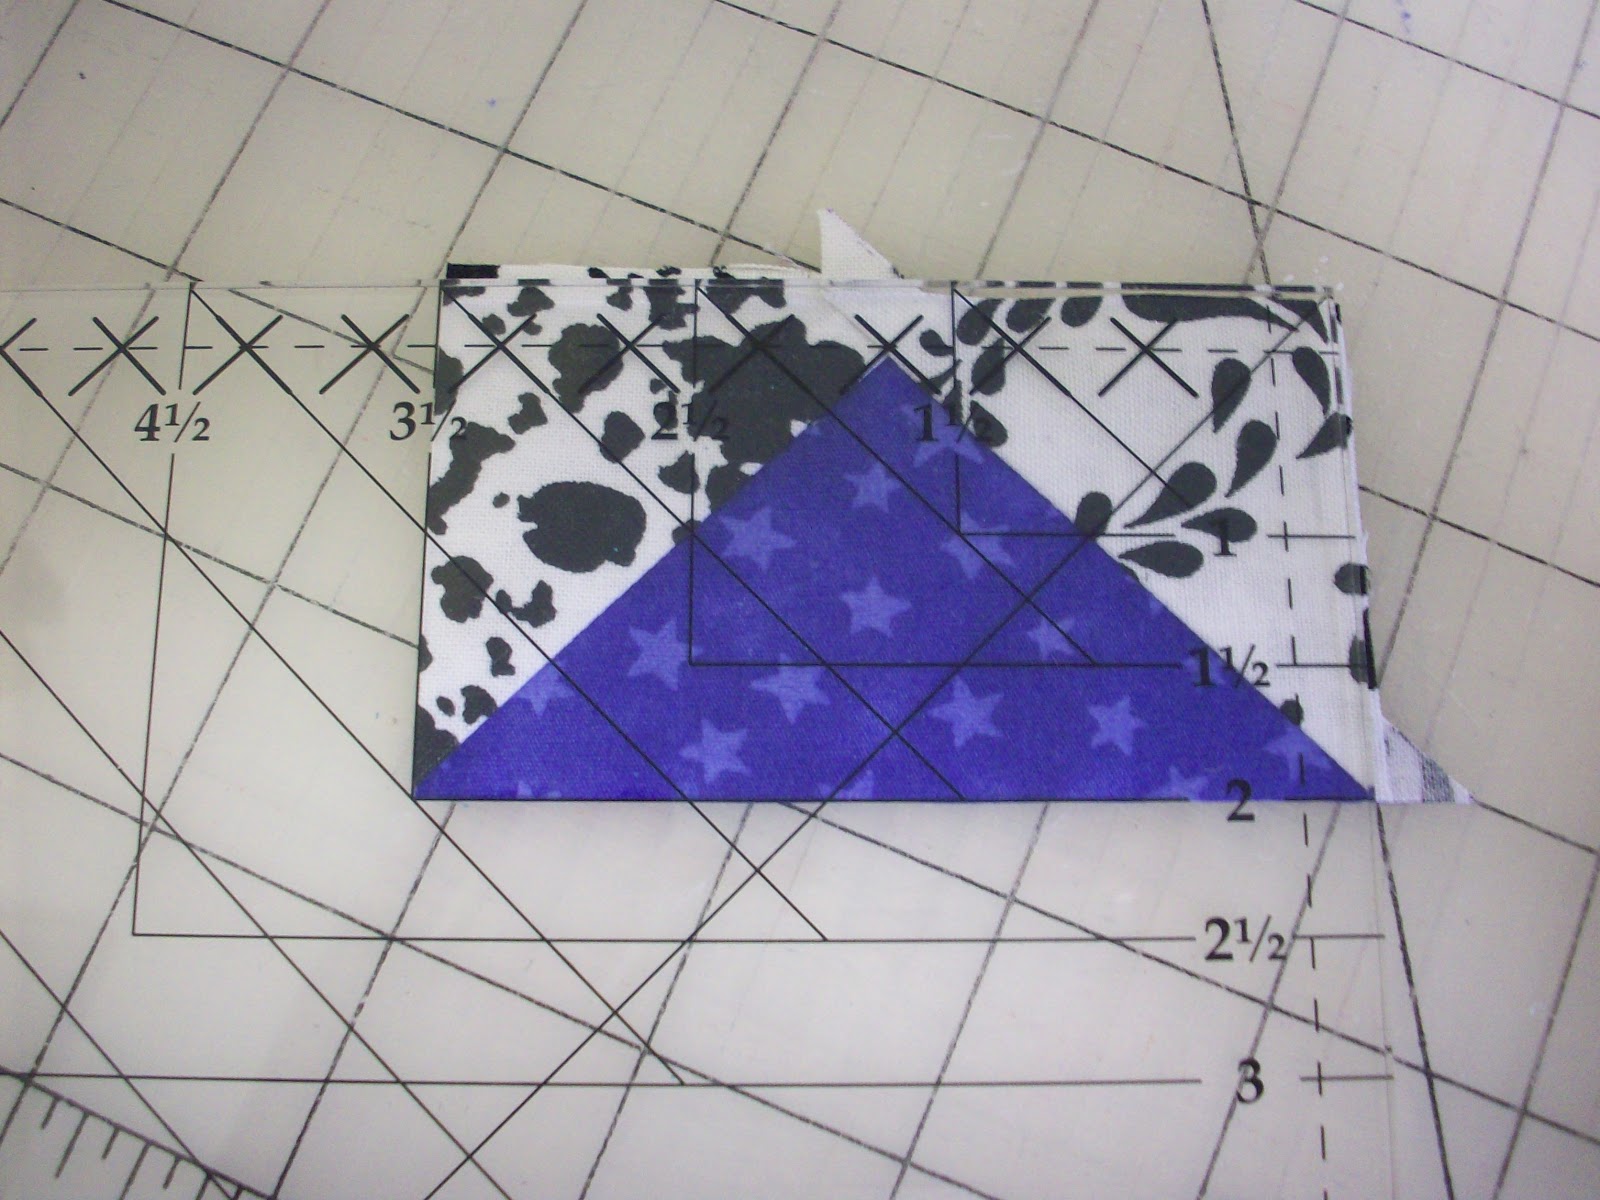
 Now you are ready to square up the flying geese with the Wing Clipper Tool.
 Line it up with the valley towards you along the proper lines. It is clearly marked. Trim the right side and top right of the flying geese.
 Rotate around 180 degrees and trim the opposite side.
 There you have a perfect sized flying geese - well, actually four!
It seemed a little tedious at first because I had to remember the steps but once I got in my mind how to line the squares up every time it moved along pretty quickly, especially with chain piecing. 
 However, I don't really like to draw diagonal lines on fabric. Just one of those things I don't care to do. So, here is another tool that eliminates that step completely.
 It is the Clearly Perfect Angles Sheet. It's a thin plastic that clings to your sewing machine top and table. There are good instructions for aligning it with your machine.
 You cut a little rectangle out of the center when you first purchase it and line it up on your machine so the 'hole' is where your feed dogs are. There are lines for a center cut or 1/4" seam on either side and that is what I used. Just lined the pieces to the left of the 'gray' line, watch the bottom where you are feeding it into the machine and sew away. No marking and it goes well.
Whoops, I made an error on one set. Got in a hurry and forgot to press my black and white squares open before I added those on the second corner. Oh well, I cut a few extra anyway - LOL! Happy Stitching, to those doing the mystery quilt!